Quick answer: Most DIY mini split installations require tools like a vacuum pump, manifold gauge set, torque wrench, and drill. Some systems reduce tool requirements, but most installations still need specialized equipment for proper setup.
Installing a mini split system yourself can save thousands, but using the right tools is what determines whether the installation is successful. Missing or improper tools can lead to leaks, reduced efficiency, or long-term system damage.
This guide covers all the tools needed for a DIY mini split installation, including which are required, which are optional, and how much they typically cost.
Essential Tools for Mini Split Installation
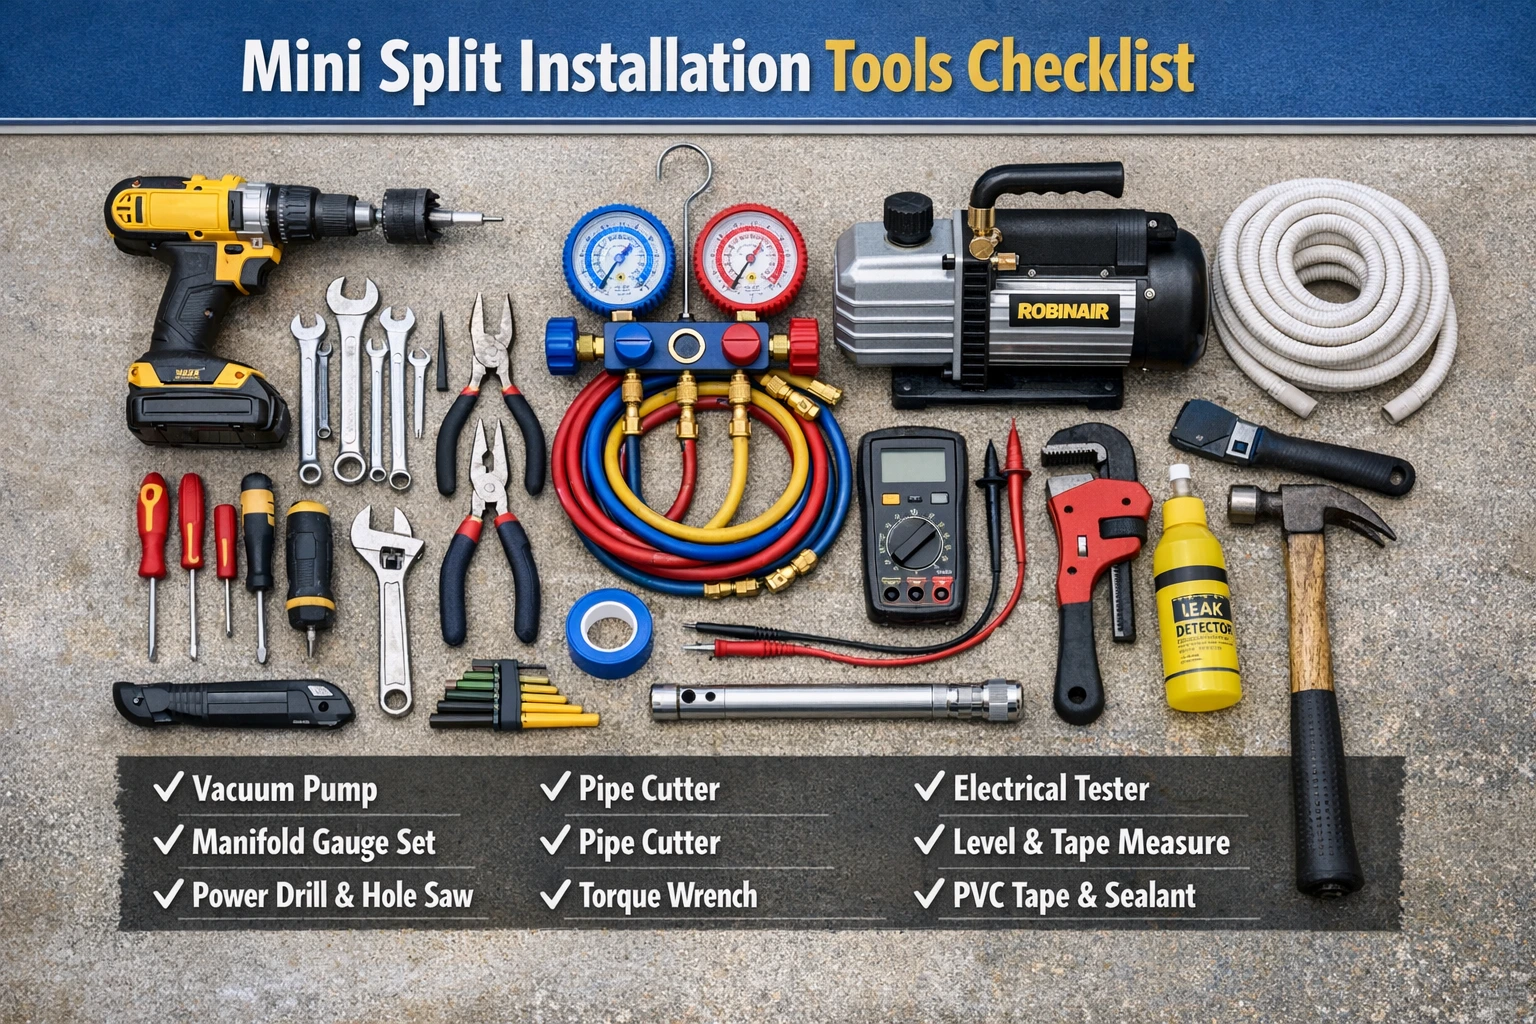
Most DIY mini split installations require the following core tools:
| Tool | Purpose | Typical Cost |
|---|---|---|
| Vacuum Pump | Removes moisture and air from refrigerant lines | $100 – $300 |
| Manifold Gauge Set | Measures system pressure and assists with evacuation | $50 – $150 |
| Torque Wrench | Ensures proper tightening of flare fittings | $50 – $150 |
| Drill + Hole Saw | Creates wall opening for line set | $50 – $150 |
For most DIY installations, tool costs alone typically range from $150 to $400, depending on whether you buy or rent specialized equipment.
These tools are considered essential for most standard installations unless you are using a system specifically designed to simplify or eliminate certain steps.
Required vs Optional Tools
Not every tool is required for every installation. Most setups fall into two categories:
- Required tools: Vacuum pump, gauge set, drill, and basic hand tools
- Optional tools: Flaring tools, pipe cutters, or advanced electrical tools depending on your setup
DIY-friendly systems can reduce the number of required tools, but most installations still need at least basic equipment.
Why These Tools Matter
Each tool plays a critical role in ensuring the system operates correctly:
- Vacuum pump: Removes moisture and air, which can reduce efficiency and damage internal components
- Gauge set: Helps verify proper pressure and system readiness
- Torque wrench: Prevents under- or over-tightening connections that can lead to leaks
- Drill and hole saw: Allows proper routing of refrigerant lines and wiring
In many DIY installations, issues like poor cooling or system errors are often traced back to improper tool use rather than the system itself.
Skipping or improperly using these tools is one of the most common causes of installation issues.
Additional Tools That May Be Needed
Depending on your setup, you may also need additional tools:
- Level (for proper indoor unit placement)
- Stud finder (for mounting support)
- Wire strippers and electrical tools
- Pipe cutter or flaring tool (for custom line sets)
- Ladder (for mounting indoor or outdoor units)
Choosing the right system can also impact how many tools you need. Some of the best DIY mini split systems are designed to simplify installation and reduce tool requirements.
Do DIY Mini Split Systems Reduce Tool Requirements?
Some DIY mini split systems are designed to simplify installation by using pre-charged line sets and simplified connections.
These systems can reduce the need for tools like vacuum pumps and gauges, but basic tools such as a drill, level, and mounting hardware are still required.
Choosing one of the best DIY mini split systems can reduce complexity and lower your total tool investment.
Should You Buy or Rent Mini Split Tools?
Many homeowners only use specialized tools like vacuum pumps once, which makes renting a practical option.
- Buy tools if: You plan multiple installations or want long-term use
- Rent tools if: You are completing a one-time installation
Pro tip: Renting tools like a vacuum pump is often the most cost-effective option for one-time installations, especially if you don’t plan to install multiple systems.
How Tool Costs Impact Total Installation Cost
Tool costs are an important part of your total DIY investment. In many cases, they add $100 to $500 to your overall cost.
To see how tools fit into the full cost breakdown, visit this DIY mini split installation cost guide.
Common Mistakes When Using Tools
Improper tool use is one of the most common causes of DIY installation problems:
- Not fully evacuating refrigerant lines
- Over-tightening or under-tightening flare connections
- Improper hole placement through the wall
- Skipping pressure checks before system startup
Many of these issues are covered in more detail in this mini split installation mistakes guide.
Taking the time to use the correct tools properly can prevent costly issues later.
Is Installing a Mini Split Without Tools Possible?
Some systems are marketed as “tool-free,” but most installations still require basic tools for mounting, drilling, and electrical work.
Even simplified systems benefit from proper installation techniques to ensure long-term performance and reliability.
For a full step-by-step overview, see this DIY mini split installation guide.
Final Thoughts
Having the right tools is one of the most important parts of a successful DIY mini split installation. While some systems reduce tool requirements, most installations still depend on proper equipment and careful setup.
FAQs
Do you need a vacuum pump to install a mini split?
Most standard installations require a vacuum pump to remove air and moisture from the system. Some DIY systems reduce this requirement.
Can you install a mini split without gauges?
Gauge sets are typically used to verify pressure and proper evacuation, though some DIY systems simplify this process.
What is the most important tool for mini split installation?
The vacuum pump is often considered the most important tool because it ensures the system is free of moisture and air before operation.